This webpart is part of the Percy Web Parts app which is included in the Percy site templates. If you do not see this webpart, add the Percy Web Parts app to your site.
- If you're not in edit mode already, click Edit at the top right of the page.

- Hover your mouse above or below an existing web part or under the title region and click the plus sign and then select the Insights web part.


- If you want to add a title to your web part to be displayed on the page, you can click into the "Web Part Title" section.

- You will notice this component has already been configured and there aren't any further options to change the configuration. By clicking on the pen, you will be able to adjust the height of the component.


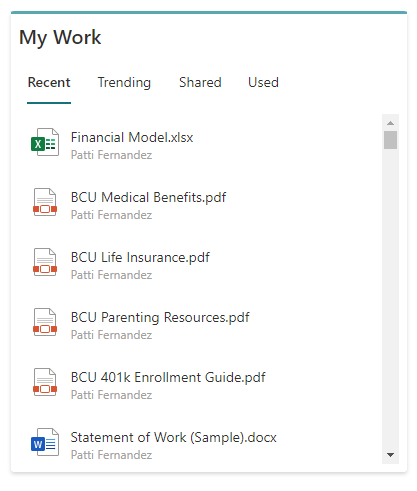
- The tabs you can see on the insights component have been detailed below.

- Recent: This shows the documents you've been working on recently from anywhere in Office 365
- Trending: This will display any sites or content which is trending which means they've been visited recently by the most users.
- Shared: Content that has been shared with you from SharePoint or OneDrive
- Used: To display your most used documents which have been visited or updated
- Now that the web part has been configured, you can save the page.
- When you are ready for your audience to see the page, click 'Publish'.