This webpart is part of the Percy Web Parts app which is included in the Percy site templates. If you do not see this webpart, add the Percy Web Parts app to your site.
- If you're not in edit mode already, click 'Edit' at the top right of the page.

- Hover your mouse above or below an existing web part or under the title region and click the plus sign and then select the Tasks web part.


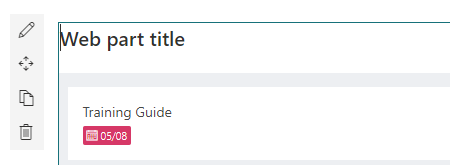
- If you want to add a title to your web part to be displayed on the page, you can click into the "Web Part Title" section.
- Click on the edit pen in the top left corner of the web part to configure it.

- The details pane will then appear on the right hand side. Providing the following options:

- Use fixed height: To set a custom height on the tasks web part, tick this field.
- Height: You will then be able to input the height in pixels you want the component to display.
- To save your page, click on the "Save as draft" button in the top left corner.

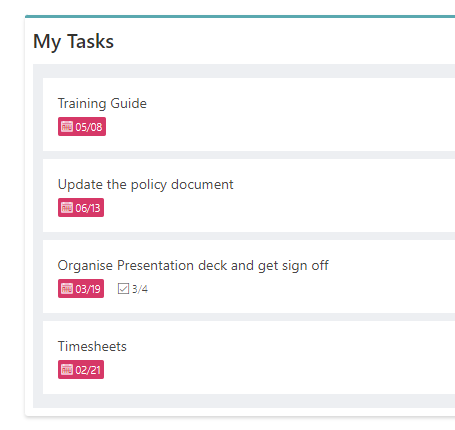
- You should now see the lists of tasks you've been assigned from planner in your configured web part.
- When you are ready for your audience to see the page, click Publish.