
This webpart is part of the Percy Web Parts app which is included in the Percy site templates. If you do not see this webpart, add the Percy Web Parts app to your site.
If you are looking for the default weather webpart provided by Microsoft instead, please see the article linked here. The Microsoft webpart doesn't provide personalisation and will display the same location for all.
This component has specifically been designed for the homepage as it requires a SharePoint list to be configured in order to work.
The list can be found in the site contents of your homepage, titled "Weather Locations". When someone configures a location to display, this list will store that location.

If our web part isn't working, it may be due to this list not being configured correctly on your site. It should be set up with the below columns:
- User: Person or Group
- DegreeType: Choice, options will be C and F
- In order to add this webpart to your homepage, follow these steps:
- Edit the Home page of the Intranet
- Add a new webpart and select our Weather webpart. Our one is the one named Weather (Depreciated)

- The properties of the webpart do not need to change, you may just want to add in a title which will be displayed on the page

- Now a user can see the webpart on the homepage and select the edit pen next to the webpart heading.
- This will bring up the configuration panel where they can type to search and add their locations and set their degree type.

- Within the web part choose your location to pull weather from.
- (In our example we are showing London)
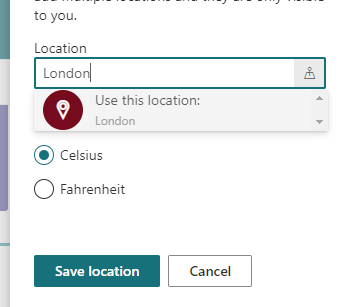
- Select the value from the drop down and save location. From here, you can add multiple locations that will only display for you when signed in.