- Navigate to your News Hub or News area and click to create a News Post
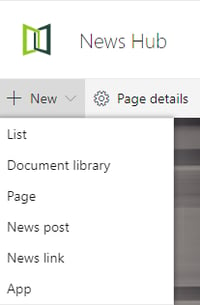
- In the next screen choose which Template you want your News Item to be built against. You may have a news template available for you to use.
- Then proceed to create your 'News Post' which will provision a page.

- Now you can see a prompt to "add a name" for your news title and the author in the by line underneath.
- The title area is editable, similar to a standard webpart so you can select the edit pen in the top left corner to display your options:
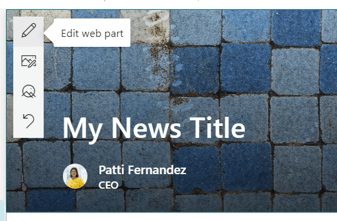
- You will see a number of options you have to change how the title section looks and also if you want to display things like published date.
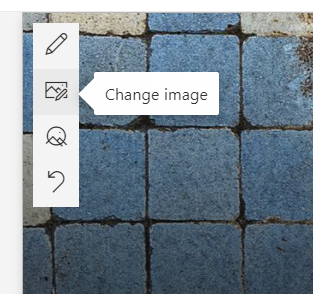
- On this menu, you can also "change image" to upload or select a different image for your news post. This will bring up the image picker where you also have the option to use stock imagery provided by Microsoft.
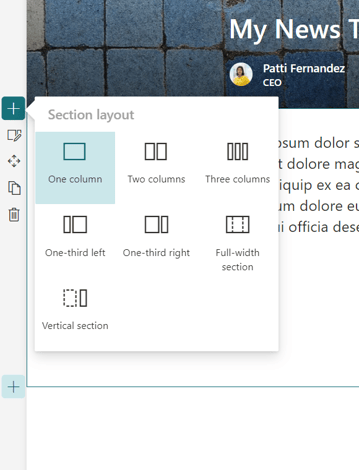
- Fill in the contents of your news post, by default you should already have a text box there which you can start editing. News works in the same way as a standard page where you can change the columns on the left hand side
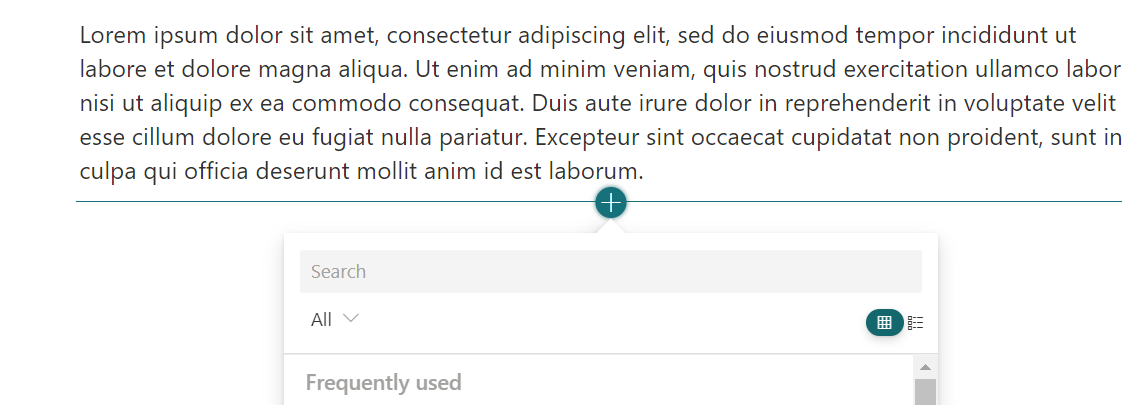
- You can also go ahead and add in any webpart you would like to use. Your news post don't just need to be text/imagery and you can benefit from using video, twitter feeds, countdown timers and more interactive web parts.
- At the bottom of the page, you will also notice the ability to turn comments on or off.

- Once you're happy with the content, make sure you select the "page details" button in the ribbon to add/update your page properties.

- The page properties are important to help your colleagues search and find your news items. This can also determine what appears on your homepage. When you are creating news from your news area, you will see the following properties:
- Thumbnail: This is the image that will appear on your news hero on the homepage so its good to check that you are happy with the sizing before you publish it. If you want, you can also apply a different thumbnail image to the page title area image.
- Description
- Name
- Departments: If you want to surface and search for this news post on your department pages, tag the article with a department to promote it to their homepage.
- Locations: If you want to surface and search for this news post on your location pages, tag the article with a location to promote it to their homepage.
- News Categories: News categories are great so you can set up custom feeds on your homepage related to a specific category, such as "Wellbeing Wednesday"
- Show in News Hero: In order for your news post to appear on the homepage carousel or hero automatically, this option needs to be set to yes. The toggle for this switch is only present on the news site and cannot be found in department areas.
- If you have enabled news scheduling and audience targeting, you will also see the schedule date and audience targeting options in the properties pane. If you are interested in enabling these features, please contact perspicuity support.
- Once you have populated the properties of your news post, you can go ahead and "post news".

- If you have set up page approvals, continue to follow your approval process.
English