User or Audience targeting can be applied in many different areas of Percy and can be really beneficial in making the Intranet a personal experience for the user who is signed in. By applying targeting, you are making sure that the user sees only the content relevant to them.
The different areas where you would look to apply user targeting would be for the following:
- News Articles
- Navigation
- Breaking News
- Link Tiles
- FAQs
News Articles:
Firstly, you need to ensure that your News Hero on the homepage has been configured to use Targeting. To do this, you need to edit the webpart and turn on the "Targeting" switch. You can do this by following these steps:
Edit the page
Edit the webpart

In the design section, turn on audience targeting

Now that has been switched on, when you next create a news article, you will notice the following property in the page details section:

The field for "Audience" will now appear where you can set it to an individual or a group of users - The key to this will be to make sure that the group is available to target - something your IT team would need to create.
Navigation
When you edit your global or site navigation, you should now see a switch again to enable audience targeting:
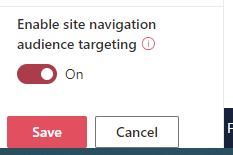
By turning this on, when you create a new link, you will have an option to target an audience. Similar to before, you can then type in the people who you want to see this link whether that's individual users or a group.
Breaking News, Link Tiles & FAQs
For both of these methods, the targeting is applied in the same way. Slightly different to the above where you target a group or a user, you would be targeting a profile property such as "Office=London" or "Department=HR".
When creating a new breaking news item or FAQ, you would select the button from the footer depending on which one you are creating:

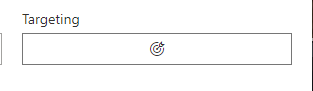
When the form pops up, you will see a button for "Targeting"
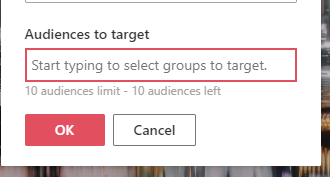
Once selected, another window will appear which provides you with a detailed description of what you can do. In my example, I am going to use the Office field. So for the user property, I will set this as "Office" and the Value will be Miami.

I can apply multiple values at once such as creating the FAQ link for people in Miami & New York. I just need to click on the plus icon next to Miami.

The bigger plus button is there so you can apply multiple values across multuple properties. For example, I want to now target the HR team in the Miami office, so I can apply my targeting like the following:

Once applied, click Save at the bottom to save the changes. This FAQ will now only appear for users where the Office=Miami AND Department=HR.
Something to consider here is making sure that the user property is correct. I know in some instances of SharePoint rather than location, the field is read as "SPS-Location". So you may find that if the targeting isn't working as expected, the user property name may need to change.
This method is the same for all three components.